
Summer is the perfect time for cool, sweet treats. This easy dessert is a favorite for its simplicity and taste.
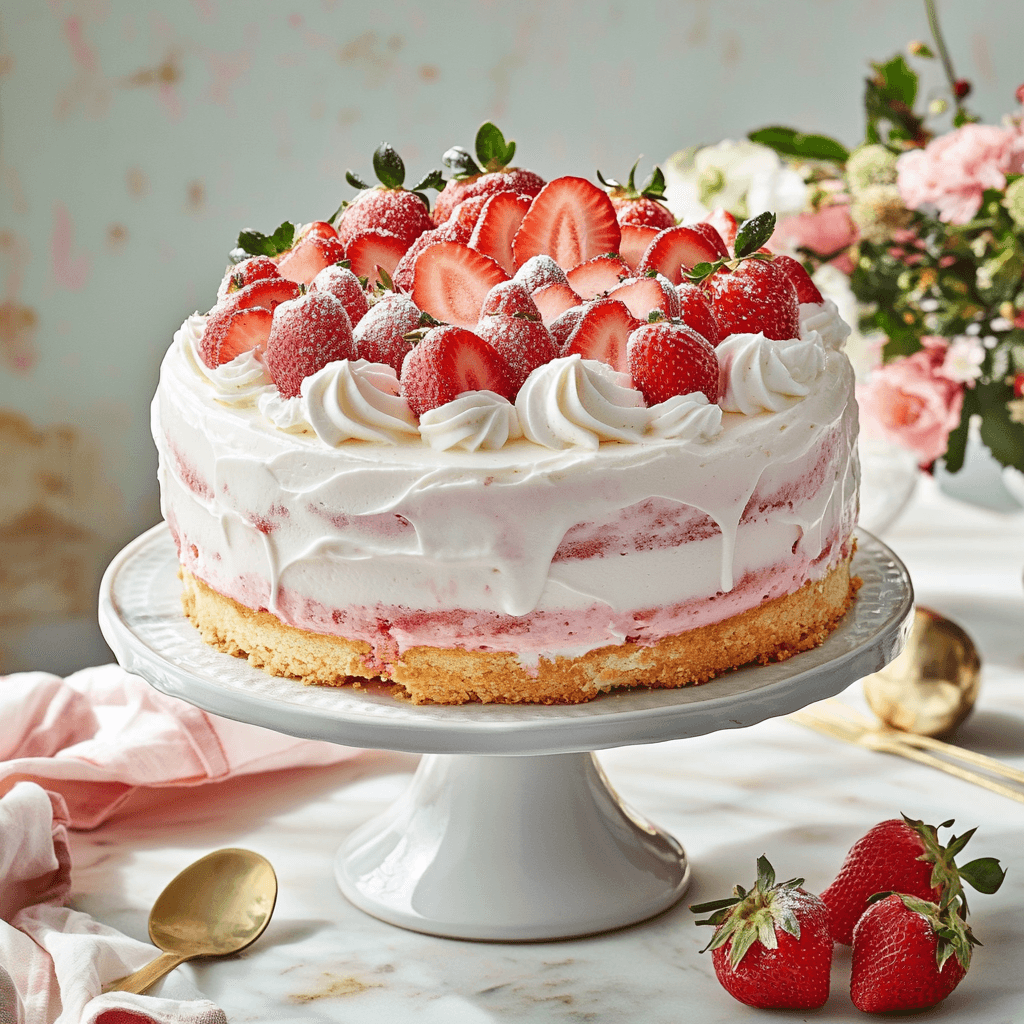
Imagine making a tasty dessert in just 15 minutes, without using the oven. Our recipe turns fresh strawberries, graham crackers, and whipped cream into a cool treat for 10 people.
This dessert is not only yummy but also super easy to make. With just three main ingredients and little prep, you’ll create a stunning dessert. Each serving has 196 calories, so it’s a light treat for summer.
Whether you’re new to cooking or have lots of experience, this recipe is a hit. It’s a cool, creamy strawberry delight that’s perfect for summer.
What is a Strawberry Shortcake Icebox Cake 🍓🍰
Explore the world of strawberry shortcake icebox cake. It’s a mix of old charm and new twists. This no-bake treat blends traditional baking with fresh ideas.
History of Icebox Cakes
The story of icebox cakes starts in the 1920s and 1930s. It was a smart move when electric fridges first came out. Home cooks made tasty desserts without using the oven, thanks to simple ingredients and cold storage.
- Originated in early 20th-century American kitchens
- Developed alongside technological advances in home refrigeration
- Designed to be easy and convenient for home bakers
Why It’s Called No-Bake Dessert
No-bake desserts are just that—no oven needed. Layers of cookies, cream, and fruit are put together and chilled. The fridge turns these parts into a smooth, creamy dessert.
Traditional vs Modern Versions
Strawberry shortcake has changed a lot over time. Old recipes used chocolate wafers. Now, we see fresh fruits, different crackers, and new flavors.
| Traditional Icebox Cake | Modern Strawberry Shortcake Icebox Cake |
|---|---|
| Chocolate wafers | Graham crackers |
| Heavy cream | Coconut whipping cream |
| Limited fruit options | Fresh seasonal berries |
This dessert is more than a sweet treat. It’s a journey through American food history. It shows how cooking changes with new tech and tastes.
Essential Ingredients for Perfect Layers
Making a perfect strawberry icebox cake begins with picking top-notch ingredients. These ingredients will turn simple parts into a tasty dessert. Choose fresh, vibrant ingredients that blend well together.
To make whipped cream for desserts, you need these key items:
- 2 cups heavy whipping cream
- ½ cup powdered sugar
- 1 teaspoon vanilla extract
- 1 pound fresh strawberries
- 7.2 ounces graham crackers
When making graham cracker layers, pick crisp crackers. They should soften well with the creamy mix. Pro tip: Cut graham crackers to fit your pan perfectly for neat, uniform layers.
Your strawberries should be ripe, fragrant, and bright red. Choose berries without bruises or soft spots. Wash and hull them well, then slice thinly for even distribution.
The magic of this dessert lies in the quality of ingredients and the layering technique!
Want to try something new? Add blueberries or raspberries for extra flavor. Each ingredient is key to the cake’s texture and taste.
Kitchen Tools and Equipment Needed
Making a Strawberry Shortcake Icebox Cake is easy. You don’t need a fancy kitchen. Just a few basic tools will help you make a stunning no-bake dessert. It will wow your family and friends.
Choosing the Perfect Icebox Cake Pan
Your icebox cake pan is key. A 9×9 square pan is perfect for even layers. It’s the right size for depth and easy cutting.
- 9×9 square baking pan
- Baking sheet (for easier handling)
- Parchment paper (optional, for easy removal)
Essential Mixing Equipment
There are many tools for mixing desserts. An electric mixer makes cream easy to whip. But, you can also use a Oxo Good Grips 3-piece Silicone Spatula Set and some hard work.
- Electric hand mixer or stand mixer
- Stainless steel mixing bowls (Set of 6)
- Rubber spatula
- Whisk (manual backup)
No-Bake Dessert Storage Solutions
Storing your icebox cake right is important. It keeps the cake fresh and tasty. Get some good storage containers.
- 8 oz mason jars (for individual servings)
- Containers with tight-fitting lids
- Round cutters (for decorative edges)
Pro Tip: Always chill your no-bake dessert storage container before transferring the cake. It helps it set fast and keeps its shape.
Making the Perfect Whipped Cream Layer
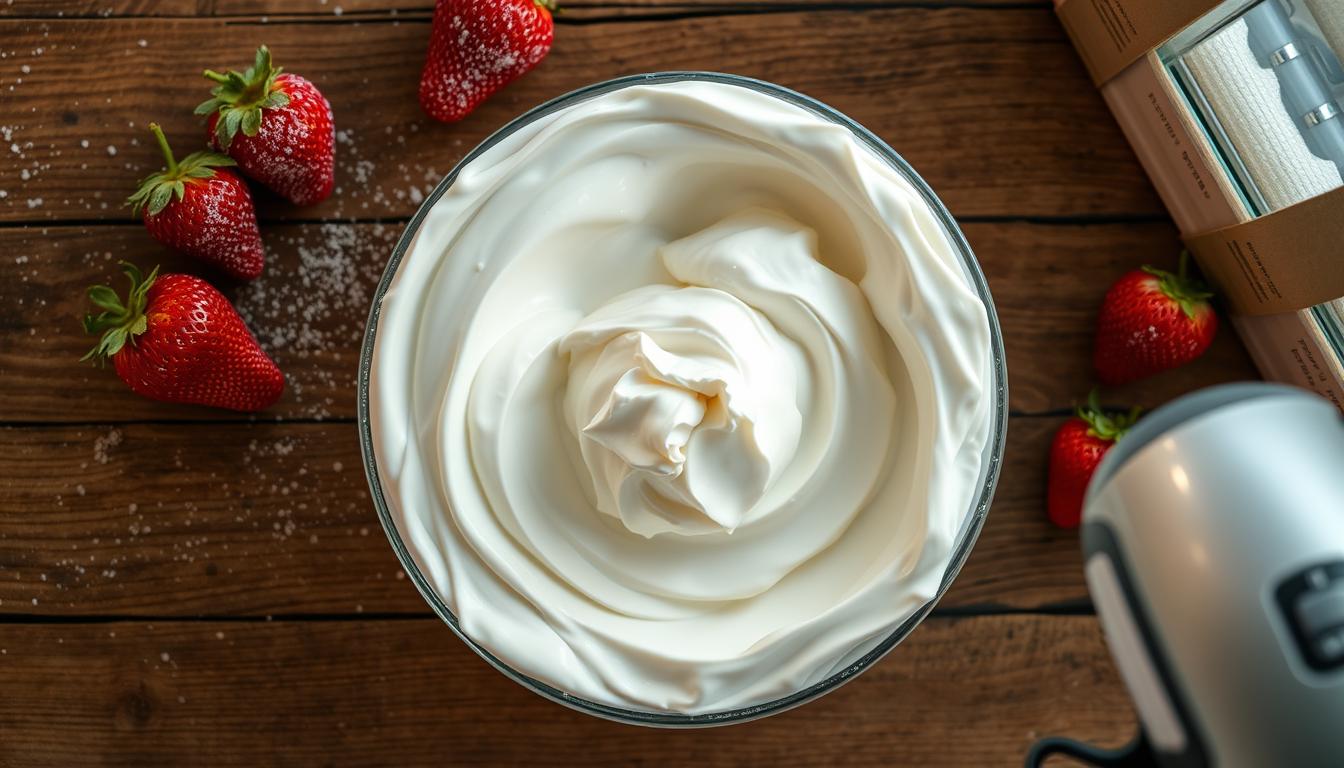
Creating the perfect homemade whipped cream is key to an amazing Strawberry Shortcake Icebox Cake. Your sweetened cream will turn into a fluffy masterpiece with these expert tips.
First, gather your ingredients carefully. You’ll need:
- 1 ½ cups cold heavy cream
- 2 tablespoons powdered sugar
- 1 teaspoon pure vanilla extract
- A pinch of salt (optional)
Professional bakers know the secret to perfect whipped cream. Chill your mixing bowl and beaters for 10 minutes before starting. This keeps the cream cold and helps it whip faster and more effectively.
When whipping your cream, follow these steps:
- Begin mixing on low speed
- Gradually increase to medium-high
- Whip until stiff peaks form (about 5 minutes)
- Stop immediately to prevent over-beating
Look for the signs of perfectly whipped cream. When you lift the beaters, the cream should stand up in firm, glossy peaks. Be careful – overwhipping will make it lumpy and butter-like, ruining your icebox cake.
Pro tip: Your homemade whipped cream can be prepared up to one day in advance and refrigerated, making dessert preparation a breeze!
If you’re short on time, Cool Whip is a good substitute. But nothing beats the rich, fresh flavor of homemade whipped cream.
Preparing Fresh Strawberries for Your Cake
Making a great Strawberry Shortcake Icebox Cake begins with picking the right strawberries. The right berries can turn a simple dessert into a special treat. Here’s what you need to know about getting your strawberries ready for your no-bake cake.
Selecting the Best Strawberries
When picking strawberries, look for:
- Bright red with no white or green patches
- Firm but slightly soft when gently squeezed
- Fragrant with a sweet aroma
- Free from bruises or mushy spots
For the best results, choose medium-sized strawberries. They have the best texture and taste for your cake.
Proper Slicing Techniques
Learning to slice strawberries right is key for a beautiful cake. Here’s how to do it:
- Wash strawberries gently under cool water
- Pat dry with clean paper towels
- Remove the green stem using a small paring knife
- Slice berries into thin, uniform pieces (about 1/4 inch thick)
Fresh vs Frozen Fruit in Icebox Cakes
Frozen strawberries can be a good backup if fresh ones aren’t available. Here’s a quick comparison:
- Fresh Strawberries: Best flavor, perfect texture, ideal for decoration
- Frozen Strawberries: Convenient, can be used if thawed for 30 minutes
Pro tip: You’ll need about 340g of strawberries, which makes roughly 1½ cups of puree. For the best texture, pulse your strawberries in a food processor until 90% pureed. This leaves some delightful chunks for added interest.
Layer-by-Layer Assembly Instructions
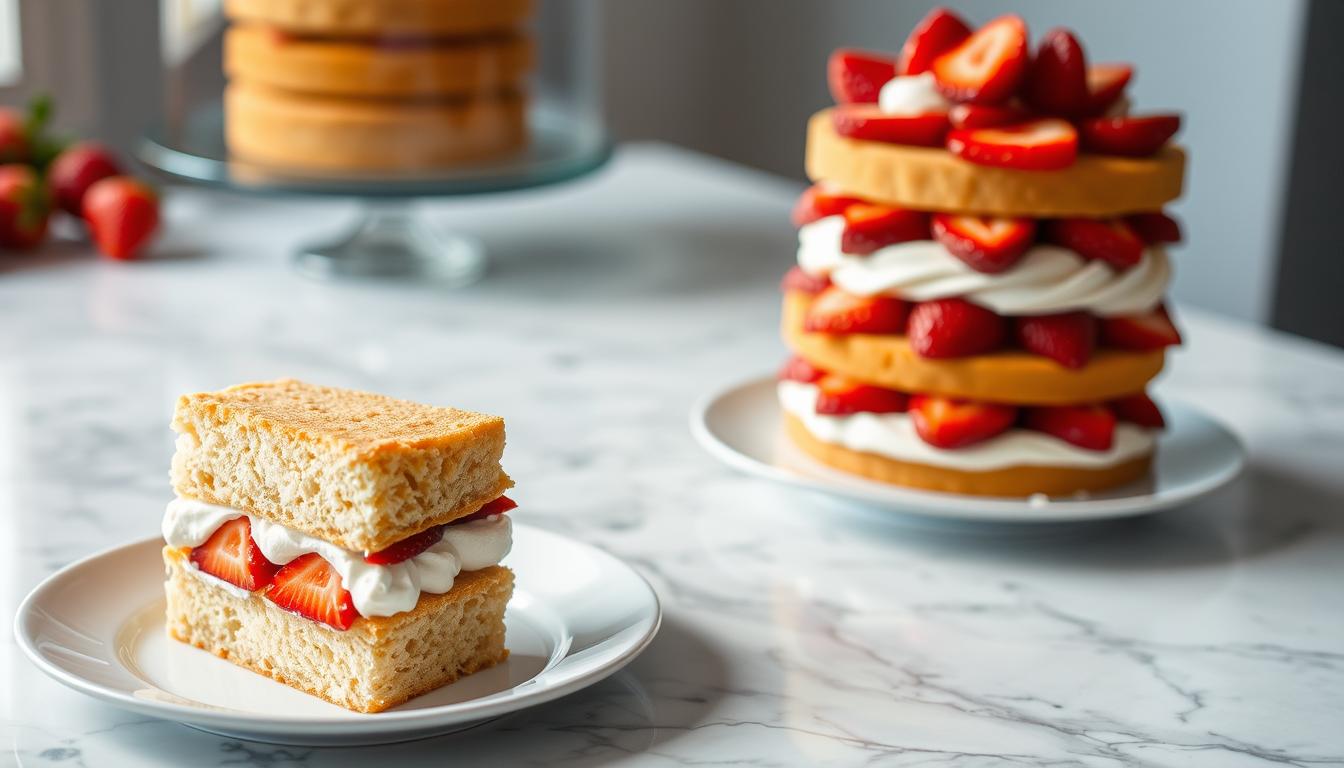
Learning to make an icebox cake is like an art. It turns simple things into a beautiful dessert. To make a strawberry dessert that looks great, you need to be precise and creative.
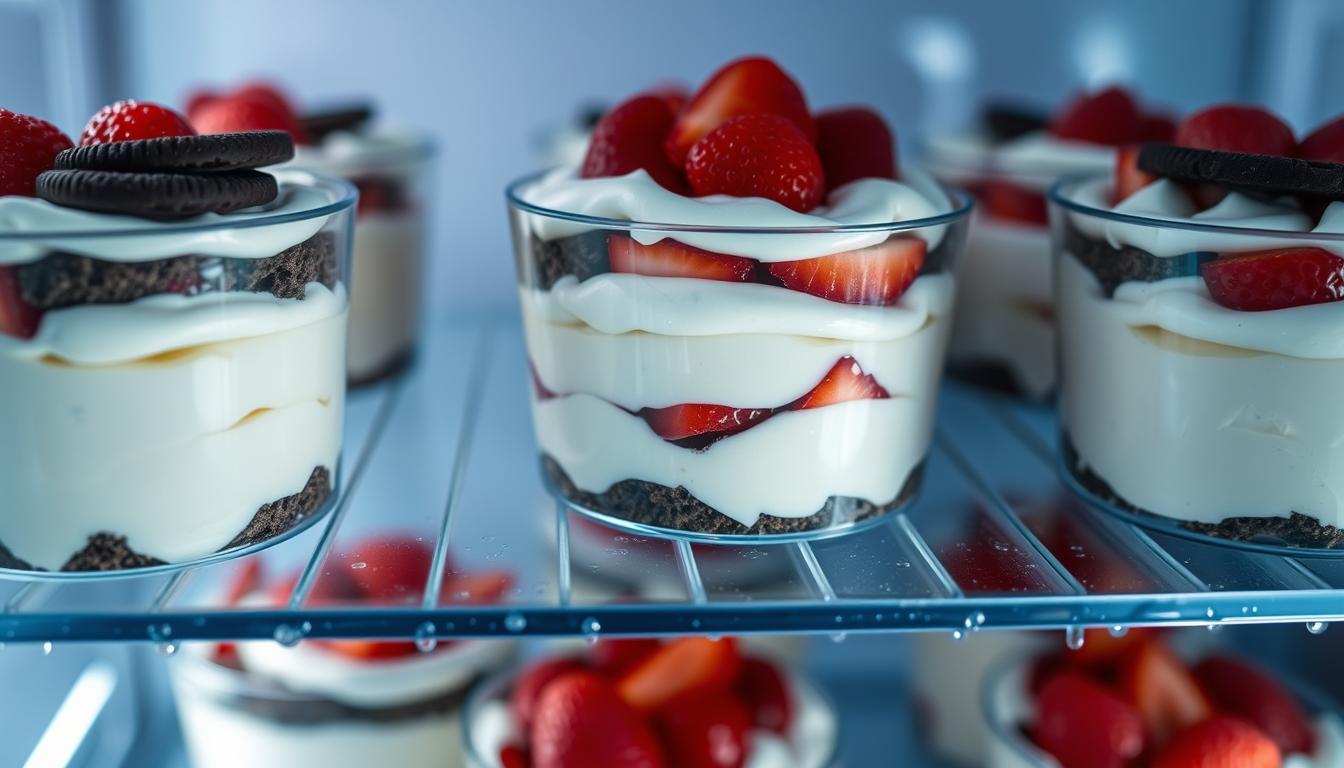
First, get your workspace ready. You will need:
- 8 oz mason jars
- Crescent dough shortcake layers
- Mixed berry mixture
- Whipped cream
Here’s how to layer your no-bake desserts perfectly:
- Start with a thin shortcake layer at the bottom of each jar
- Add a big dollop of whipped cream
- Spread mixed berries evenly
- Do this three times
| Ingredient | Quantity |
|---|---|
| Strawberries | 1 quart (sliced) |
| Sugar | 1/4 cup |
| Whipped Cream | 6.5 oz can |
| Garnish Strawberries | 6 whole berries |
Pro tip: Make sure each layer is even. This makes your dessert look good and taste great. The secret to a perfect icebox cake is to layer everything evenly and carefully.
Your dessert will serve 6 people. Each serving has about 317 kcal of yummy flavor. You can also add fresh mint leaves for a nice touch.
Tips for Even Layer Distribution
Making a stunning strawberry shortcake icebox cake needs skill. Getting even layers might seem hard, but with the right methods, you’ll make a dessert that’s as beautiful as it is tasty.
Professional bakers say the key to avoiding soggy cakes is in how you layer. Your best tool? A rubber spatula for spreading cream evenly.
Strategic Layer Preparation Techniques
- Use a rubber spatula for precise cream spreading
- Apply gentle, consistent pressure when layering
- Spread whipped cream in thin, even strokes
Mastering Neat Dessert Edges
Getting clean edges takes patience and practice. Begin by cutting graham crackers to fit your pan perfectly. This makes each layer look professional and neat.
Preventing Moisture Buildup
- Pat strawberry slices dry before layering
- Create a thin cream barrier between graham crackers
- Refrigerate immediately after assembly
Pro tip: Chill your mixing tools and ingredients beforehand to keep cream stable and avoid soggy textures.
Proper Chilling and Setting Time
Creating your Strawberry Shortcake Icebox Cake needs careful chilling. This step is key for a smooth, creamy texture. It turns simple ingredients into a stunning dessert.
The right chilling time is 4 to 7 hours. This lets graham crackers soften and soak up cream and strawberry moisture. It makes the cake layers soft and delicious.
- Minimum chilling time: 4 hours
- Optimal setting time: 6-7 hours
- Best results: Overnight refrigeration
For chilling desserts, keep the fridge at 40°F. This temperature is perfect for setting without making the cake too hard.
| Chilling Duration | Texture Result |
|---|---|
| 4 hours | Softening begins, layers start integrating |
| 6-7 hours | Ideal cake-like consistency achieved |
| Overnight | Maximum flavor melding and perfect texture |
Pro tip: Don’t rush the chilling. Waiting patiently makes your icebox cake amazing. It lets flavors mix and layers blend perfectly.
Storage and Make-Ahead Guidelines
Making desserts like strawberry shortcake icebox cake ahead of time is easy. It lets you plan without losing flavor or quality. To keep your icebox cake fresh, follow some special storage tips.
Strawberry shortcake icebox cake is great for busy hosts. It can be made a day before. Here are some tips for keeping it fresh:
- Prepare the cake up to 1 day before serving
- Refrigerate for at least 4 hours before enjoying
- Store in an airtight container to preserve freshness
Storing your dessert right keeps it tasty and safe. Here are some important storage tips:
| Storage Method | Duration | Recommended Conditions |
|---|---|---|
| Refrigerator Storage | Up to 2 days | Covered, airtight container |
| Freezer Storage | Up to 3 months | Wrapped tightly in plastic wrap |
When you refrigerate strawberry desserts, remember these tips. Always store your icebox cake in the coldest part of your refrigerator. Keep the whipped cream layers safe by sealing the container well. Don’t store it near foods with strong smells.
Pro tip: For best results, consume your icebox cake within 48 hours of preparation to enjoy optimal taste and texture.
Serving Suggestions and Garnishing Ideas
When serving no-bake desserts, your Strawberry Shortcake Icebox Cake needs a stunning look. Start by slicing the cake with a sharp knife. This shows off the beautiful layers. A dollop of fresh whipped cream on top adds elegance.
Make your icebox cakes stand out with creative decorations. Arrange fresh strawberry slices in a heart shape or use mint leaves for a design. A light dusting of powdered sugar or chocolate drizzle can make it look amazing. Serve on a decorative platter or in Mason jars for a special touch.
For a memorable dessert, pair your icebox cake with sides. Try fresh berries, berry coulis, or crushed nuts. At a gathering, set up a dessert station with wine glasses or small cups. These ideas will impress your guests and make your cake the highlight of the meal.
Pro tip: Prepare garnishes ahead by storing sliced strawberries and whipped cream in the fridge. This makes serving easy and keeps your dessert fresh and inviting. Remember, the details make a dessert special!

Easy Strawberry Shortcake Icebox Cake 🍓🍰 | No-Bake Dessert
Equipment
- – 9×9-inch baking dish or similar
- – Mixing bowl
- – Whisk or electric mixer
- – Spatula
Ingredients
- – 2 cups heavy whipping cream
- – 1/4 cup powdered sugar
- – 1 teaspoon vanilla extract
- – 1 package 12 oz shortbread cookies
- – 2 cups fresh strawberries sliced
- – 1 tablespoon lemon juice optional, for added freshness
Instructions
- In a large mixing bowl, whip the heavy cream, powdered sugar, and vanilla extract until soft peaks form. Set aside.
- In the bottom of a 9×9-inch baking dish, lay down a layer of shortbread cookies, slightly overlapping if needed.
- Spread a layer of whipped cream over the cookies, followed by a layer of sliced strawberries.
- Repeat the layers—cookies, whipped cream, and strawberries—until the dish is filled, finishing with a layer of whipped cream on top.
- Cover with plastic wrap and refrigerate for at least 4 hours or overnight to allow the flavors to meld and the dessert to firm up.
- Before serving, garnish with additional fresh strawberries and a drizzle of lemon juice if desired.
- Slice and serve chilled. Enjoy!